When homeowners transition to LED lighting, they often do so with the promise of “set and forget” technology. LEDs are indeed far superior to traditional incandescent or halogen bulbs in terms of longevity and energy efficiency. However, the idea that LED lights require zero maintenance is a myth that can cost you money and diminish the aesthetic appeal of your home.
In this guide, we will explore the essential steps to clean LED fixtures and maintain the internal components to ensure you get the maximum lifespan of up to 50,000 hours or more. Proper LED maintenance is not just about aesthetics; it is about protecting a sophisticated electronic investment.
Why Regular LED Maintenance is Crucial?
You might not notice it day-to-day, but over time, a thin layer of dust and grime accumulates on the surface of your fixtures. In fact, studies show that a heavy accumulation of dust can reduce the light output of an LED fixture by as much as 30%. This means you are paying for electricity that isn’t successfully illuminating your room.
Beyond brightness, the biggest enemy of LED light technology is heat. Unlike traditional bulbs that radiate heat outward, LEDs need to dissipate heat through internal heat sinks. If these sinks are clogged with dust and debris, the thermal management system fails. This causes the internal components to overheat, which is the primary cause of premature LED failure. Regular cleaning is the simplest way to ensure your lights stay cool and efficient.
Safety First: Preparing for Cleaning
Before you grab a soft cloth and start wiping, safety must be your priority. Working with any electrical equipment requires a disciplined approach to prevent accidents.
- Turn off the power: Never clean your lights while they are switched on. Not only is there a risk of electric shock, but even the surface of the LED can be sensitive to static or sudden temperature changes when touched.
- Allow time to cool: Even though LEDs are much cooler than old-fashioned bulbs, the internal housing can still retain some heat. Allow at least 15–20 minutes for the fixture to reach room temperature.
- Check the stability: If you are using a ladder to reach high ceilings, ensure it is on a level surface.
Always use common sense: if a fixture looks scorched or has exposed wiring, do not attempt to clean it. Instead, check with a professional electrician to prevent damage to your home’s electrical system.
The Essential Toolkit for LED Cleaning
To properly maintain your lighting, you do not need expensive chemicals. However, you do need the right materials to avoid scratching delicate surfaces.
- Dry microfiber cloth: This is your most important tool. A high-quality microfiber cloth picks up dust via static electricity rather than just moving it around.
- Can of compressed air: Perfect for cleaning dust out of intricate heat sinks, narrow gaps in LED lighting, or delicate LED strips where physical contact might be risky.
- Damp cloth: For stubborn grime (like grease in a kitchen), a slightly damp cloth with plain water is usually enough.
- Avoid harsh chemicals: Never use ammonia-based cleaners, bleach, or abrasive furniture polish. These harsh chemicals can degrade the plastic diffusers (the screen) and cause them to turn yellow or become brittle over time.
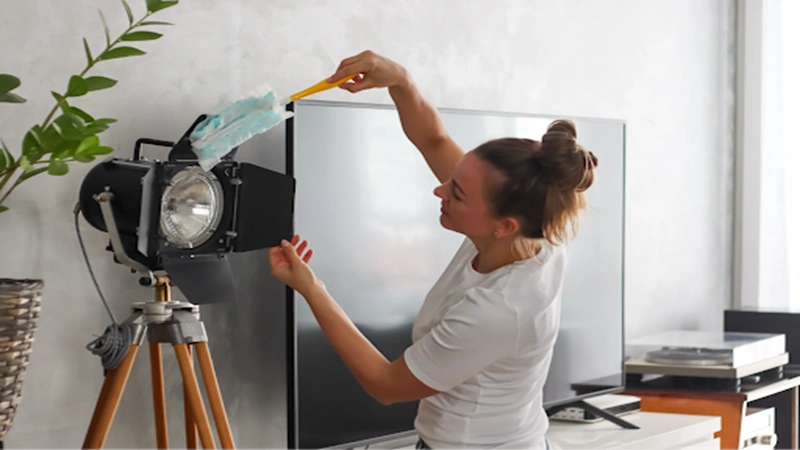
Step-by-Step: How to Clean Different LED Fixtures
1. Standard LED Bulbs and Spotlights
For most bulbs, a simple wipe with a dry microfiber cloth is all that is needed. But if the bulb is located in a kitchen, it may have a layer of grease. In this case, use a slightly damp cloth, followed immediately by a dry one to ensure no moisture lingers on the base.
2. LED Strips and Under-Cabinet Lighting
LED strips are often naked or covered by a thin silicone layer. They are sensitive. Usage of a can of compressed air is the best step here. It blows away dust and debris without putting pressure on the soldered connections. If you must wipe them, use a soft, dry cloth and be extremely gentle to prevent the strip from peeling away from its adhesive backing.
3. Recessed Downlights and Ceiling Panels
With downlights, the screen (the diffuser) is what usually gets dirty. Dust often settles inside the rim. Use the brush attachment of a vacuum cleaner to gently reach the edges, then wipe the LED cover with your microfiber cloth. If your panels are in an office or large kitchen, regular cleaning is vital to maintaining a professional, bright environment.
Expert Support: Why Quality Matters
Maintaining your lights is significantly easier when you start with high-quality components designed for durability. When choosing led lighting, it is essential to source products from experts who understand the technical nuances of thermal management and light quality.
Lucas LED has established itself as a leader in the Irish market, not just by providing premium products, but through their dedicated expert advice and support. Whether you are a homeowner or a professional, their team ensures you select the right led lights that offer a lifespan of up to 50,000 hours, making the maintenance process much simpler. When you buy from an authority, you aren’t just getting a bulb; you are getting a lighting solution that is built to last and easy to keep in top condition.
Troubleshooting Common Maintenance Issues
Sometimes, cleaning isn’t enough to fix a lighting issue. Here is how to tell the difference:
- Flickering: If your LED is flickering, it is rarely due to dust. Check the compatibility of your dimmer switch or look for loose wiring. However, if the flickering started after a heavy cleaning, you may have accidentally introduced moisture into the driver.
- Dimming: If you clean the fixture and its brightness still seems low, you might be experiencing “lumen depreciation.” All LEDs lose a small amount of brightness over the years of usage. If the light is significantly dimmer than when new, it may be time to consider a replacement.
- Yellowing Diffusers: If the plastic cover (the screen) has turned yellow, no amount of cleaning will fix it. This is often caused by UV exposure or high heat from poor-quality internal chips.
Environmental Factors and Long-Term Care
The amount of maintenance required depends heavily on where your LED is installed.
- Kitchens: Grease is a magnet for dust. In these areas, maintenance should be performed every two months.
- Bathrooms: Moisture can cause mineral deposits on the LED housing. Ensure your bathroom LEDs have the correct IP rating to prevent internal corrosion.
- Outdoor Lights: These face the toughest conditions. Check for spider webs and insect nests, as these can block heat dissipation and cause the unit to overheat. Proper sealing is crucial to prevent damage from rain.
Conclusion: A Brighter Future Through Care
In summary, how you treat your lighting determines how well it serves you. Regular cleaning and maintenance are the keys to ensuring that your LED lighting remains as efficient as the day you installed it. By following the cleaning tips outlined in this guide, you can prevent unnecessary energy waste and extend the lifespan of your investment.
Remember, a clean LED is a cool LED, and a cool LED is a long-lasting one. Keep your home bright, use a soft cloth regularly, and always use the right tools for the job. If you ever feel that your current lights are no longer performing as they should, even after a thorough maintenance session, it might be time to reach out to the experts at Lucas LED for an upgrade. Protecting your home’s ambiance and its brightness starts with the simple step of using a dry microfiber cloth and a little bit of attention. See more